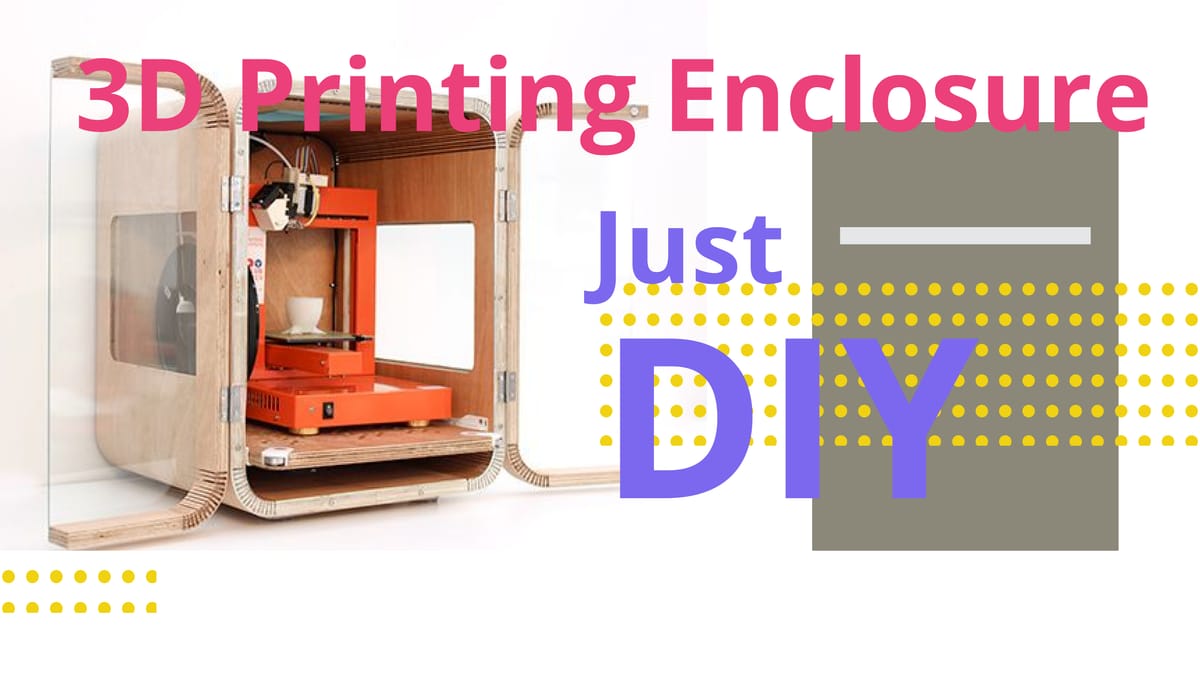
Building A 3d Printer Enclosure
Successful create a 3D printer enclosure your own by acknowledging these important points

Tools and Materials
Selecting the right tools and materials is essential when building a 3D printer enclosure. Key components include acrylic sheets or wood for walls, cutting tools like saws or laser cutters, adhesives or screws for assembly, and optionally insulation or fans for temperature control. Ensuring safety while handling these materials and staying within your budget will help you create a functional and efficient enclosure for your 3D printer.
Necessary Tools
To build a 3D printer enclosure, you'll need various tools and materials to ensure a smooth and successful construction process. Here are the essential items:
Materials Needed:
- Acrylic sheets or glass for the enclosure walls
- Insulation material (e.g., foam board or batting) for noise reduction and temperature control
- Hinges, handles, and locks for easy access to the printer
- Adhesive materials (e.g., epoxy or silicone) for sealing gaps
- Fasteners such as screws, bolts, and nuts
Tools Required:
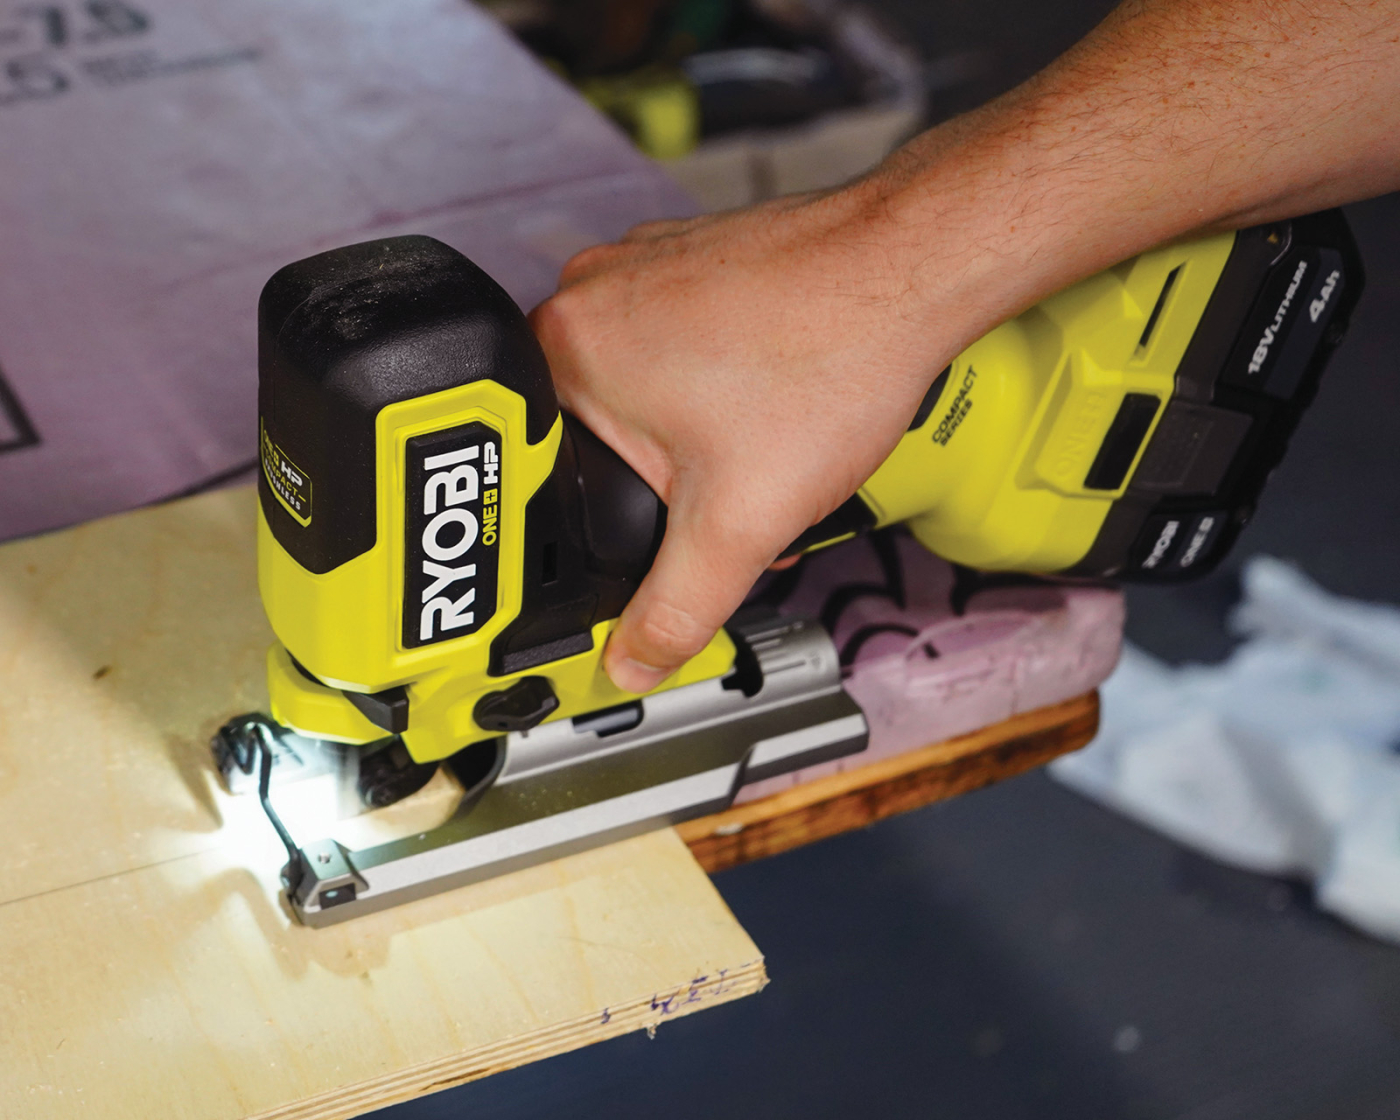
- Power tools like a jigsaw, circular saw, or bandsaw for cutting materials
- Drill with various drill bits for making holes
- Measuring tools (ruler, tape measure, level) to ensure accuracy
- Sandpaper or sanding block for smoothing edges
- Safety equipment (goggles, gloves, dust mask)
These tools and materials will help you create a sturdy, functional enclosure that protects your 3D printer from dust, noise, and environmental changes.
Materials
When building a 3D printer enclosure, the choice of materials plays a crucial role in ensuring functionality and durability. Common materials include wood for its versatility and aesthetics, metal sheets or acrylic for a more durable and soundproof option, and foam boards for insulation purposes to reduce noise and heat transfer within the enclosure.
Essential tools for constructing the enclosure include a saw for cutting materials, measuring tape for precise measurements, a drill with various bits for creating holes, screwdrivers or wrenches for assembly, and sandpaper to smooth any rough edges or surfaces. These tools ensure that the enclosure is built accurately and securely, providing optimal performance for your 3D printer.
By carefully selecting the right materials and using appropriate tools, you can create an effective and efficient enclosure tailored to your specific needs.
Construction Steps
Building a 3D printer enclosure involves several key construction steps, starting with gathering necessary materials like wood or metal and selecting appropriate tools. The process begins by designing the enclosure based on your printer's dimensions, ensuring enough space for easy access and maintenance. Cutting the parts according to measurements is followed by assembling them using brackets or hinges for stability. Adding insulation can help maintain consistent temperatures inside, while installing fans ensures proper cooling. Ensuring good ventilation is crucial for safety, especially if your printer uses materials that release fumes. Testing the fit and functionality before use guarantees optimal performance, ultimately enhancing your printing experience.
Framing the Enclosure
To build a 3D printer enclosure, start by measuring and cutting wooden boards according to your design. Secure the frame together using wood screws or bolts, ensuring it's sturdy and square. Add braces for stability if needed. Next, install hinges on one side of the frame to create an access door. Attach handles or pulls for easy opening. Finally, reinforce the enclosure with cross-bracing and prepare it for insulation by ensuring all joints are tight and secure.
Add Walls
When constructing a 3D printer enclosure, adding walls is crucial to create a stable and secure structure. Begin by selecting the appropriate materials, such as wood, metal, or plastic, depending on your design requirements. Measure the dimensions of your printer to ensure the walls fit perfectly around it. Mark the perimeter on the base where the walls will be placed. Cut the wall panels to size using tools like a saw or laser cutter, ensuring precision for seamless assembly.
Attach the walls to the base, starting with one side and working your way around. Use screws, nails, or adhesives depending on the material type. Ensure each wall is aligned correctly and secured firmly to maintain structural integrity. Once all walls are in place, double-check their alignment and stability to prevent any wobbling or movement during printer operation.
If adding additional features like shelves or insulation, integrate them into the walls as needed. Finally, test the enclosure with your 3D printer to ensure it fits comfortably within the space and operates smoothly without interference from the walls.
Install Door
Installing a door for your 3D printer enclosure involves several key steps:
1. Measure the Doorway: Accurately measure the width and height of the doorway to ensure the door fits snugly.
2. Cut the Door Panel: Use the measurements to cut a piece of material (such as MDF or plywood) for the door.
3. Attach Hinges: Secure hinges to both the door panel and the enclosure frame using screws. Ensure they are aligned properly.
4. Install Handle or Pull: Attach a handle or pull to the door for easy opening.
5. Ensure Alignment: Check that the door aligns correctly with the frame when closed, adjusting if necessary.
6. Secure Door Lock or Magnet: If using a magnetic closure, attach magnets to both the door and frame for a secure fit.
By following these steps, you can install a functional door that maintains proper alignment and provides easy access to your 3D printer.
Add Windows
When building a 3D printer enclosure with windows, consider the following steps:
- Design Considerations: Determine where to place the windows for optimal visibility while maintaining functionality.
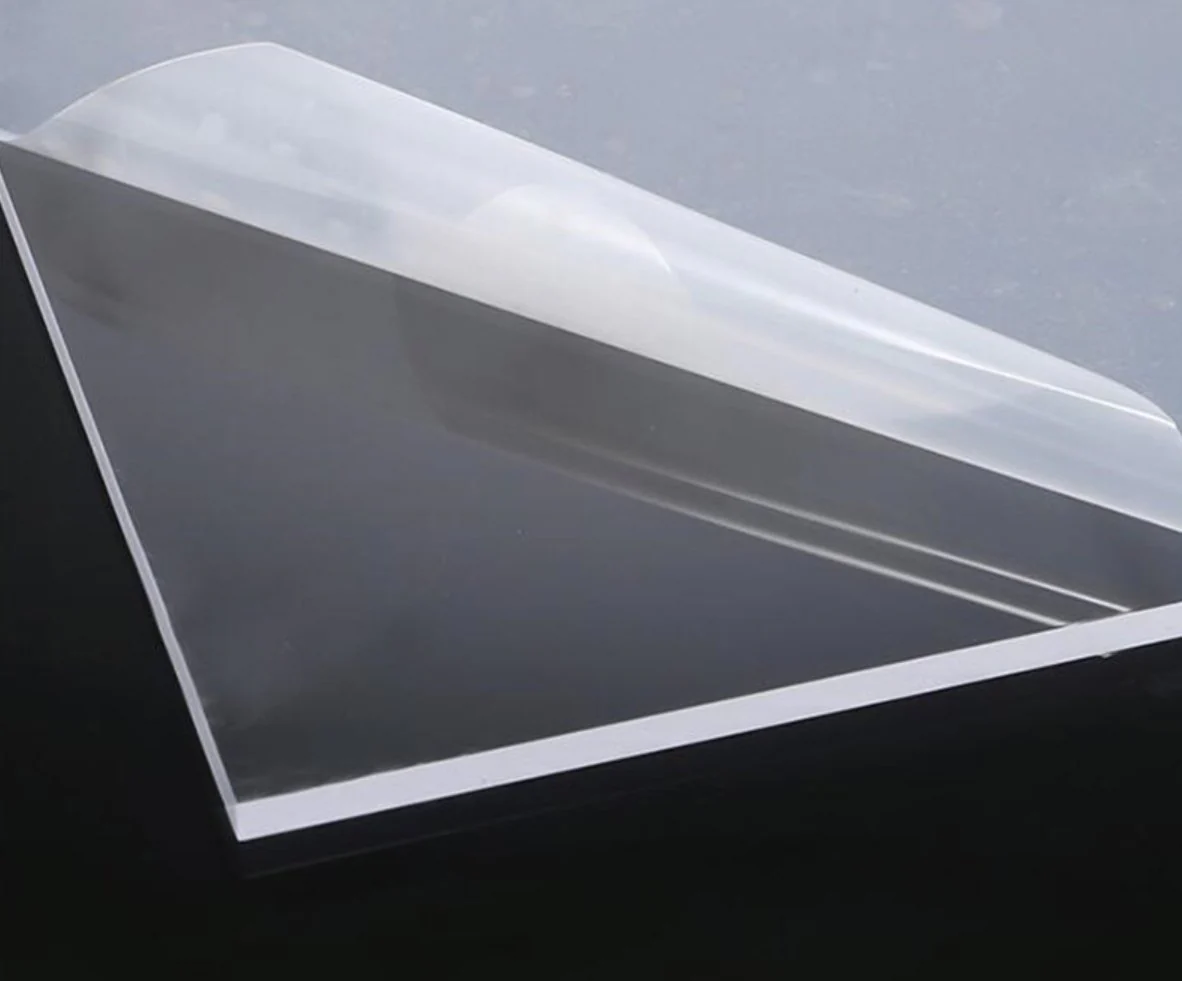
- Select Materials: Choose acrylic sheets for transparency and ease of cutting; polycarbonate is an alternative for durability.
- Cut Panels: Use tools like a jigsaw or laser cutter to precisely fit the windows into the enclosure design.
- Mount Windows Securely: Apply silicone adhesive to attach windows, ensuring no leaks or drafts for temperature control.
- Add Insulation if needed: Use insulated glass or double-pane acrylic to reduce heat loss while maintaining clarity.
- Safety and Tools: Wear safety glasses when cutting materials; consider clamps for secure assembly.
- Privacy Options: Opt for frosted acrylic or glass if privacy is needed, though clarity may slightly decrease.
- Thickness Consideration: Select appropriate thickness (e.g., 1/8 inch) balancing strength and weight.
- Aesthetics and Structure: Add frames for design appeal or structural support if desired.
- Testing: Ensure windows do not interfere with printer operation and check temperature stability after installation.
Following these steps will help create a functional and visually appealing 3D printer enclosure with effective windows.
Integrate Lighting
When building a 3D printer enclosure, integrating lighting is essential for visibility and functionality. Start by selecting LED strip lights or small pendant lights that provide even illumination without casting harsh glare. Install the lights on the inner walls or ceiling of the enclosure to ensure uniform brightness. Use motion sensors or timer switches for convenience, allowing the lights to turn on automatically when someone approaches or during specific times. Ensure proper wiring with insulated connections to prevent electrical hazards. Test the lighting system before finalizing the enclosure to ensure adequate brightness and no interference with print operations.
Electronics Integration
- Position all electronic components strategically to avoid heat interference from the printer's build plate or hot end.
- Organize wiring neatly using modular connectors or cable ties to prevent tangling and potential hazards.
- Ensure adequate cooling for electronics by placing fans near heat-sensitive components like control boards or stepper motors.
- Ground all metal parts of the enclosure to avoid electrical hazards and ensure proper grounding of the PSU and other electronic devices.
- Use mounting hardware to secure electronics in place, preventing vibration-induced loosening during operation.
PSU Placement
- Locate the PSU away from heat-generating components like the hot end or extruder motor to prevent overheating and potential failure.
- Mount the PSU securely using brackets or screws to avoid vibration-induced noise or loosening of connections.
- Ensure sufficient airflow around the PSU by placing it in a well-ventilated area within the enclosure, possibly near exhaust fans or vents.
- Select a PSU with adequate wattage and voltage compatibility for your 3D printer's requirements to prevent power shortages or instability.
- Route power cables neatly and use cable clamps to prevent strain on connectors and reduce the risk of accidental disconnections.
- Add surge protection devices if necessary, especially in areas prone to voltage spikes or unstable power supplies.
By following these guidelines, you can create a reliable and safe electronics setup for your 3D printer enclosure that minimizes heat-related issues and ensures long-term performance.
Fans and Ventilation
When integrating electronics into a 3D printer enclosure, it's essential to position components such as sensors, control boards, and wiring strategically to prevent interference or overheating. Ensuring these elements are placed away from direct heat sources can help maintain their functionality.
Fans play a critical role in managing airflow within the enclosure. Intake fans should be positioned at the bottom to draw cool air into the enclosure, while exhaust fans should be located near the top to expel heated air effectively. Using filters on intake fans can reduce dust ingress, protecting both the printer and electronics.
Ventilation design must balance airflow with thermal management. Proper ventilation prevents overheating by allowing heat to escape efficiently. Consider using passive cooling methods or active systems with strategically placed fans to maintain optimal temperatures inside the enclosure, ensuring long-term reliability of all components.
Selecting materials that aid in heat dissipation can further enhance the enclosure's performance. Incorporating these elements thoughtfully ensures a well-integrated system where electronics function optimally, and fans effectively manage airflow for a stable 3D printing environment.
Temperature Control
When building a 3D printer enclosure, integrating electronics and ensuring precise temperature control are critical for maintaining optimal printing conditions. The enclosure must effectively regulate heat to prevent overheating or premature cooling of prints.
- Electronics Integration: Ensure all necessary components such as sensors, controllers, and power supplies are securely mounted within the enclosure. Proper insulation is essential to protect electronics from excessive heat while maintaining functionality.
- Temperature Control: Utilize heating elements to maintain consistent temperatures inside the enclosure. Install thermistors or temperature sensors in strategic locations to monitor and adjust heating as needed. Incorporate fans for controlled cooling to prevent overheating and ensure uniform distribution of heat within the print area.
- Insulation: Use heat-resistant materials to insulate the enclosure, minimizing heat loss while maintaining internal thermal stability. This helps maintain consistent temperatures even in fluctuating external conditions.
By carefully integrating these elements and conducting thorough testing under various conditions, you can ensure reliable performance of both the electronics and temperature control systems within the 3D printer enclosure.
Smoke Detector
Electronics integration in a 3D printer enclosure involves strategically placing components such as fans and control systems to manage heat and fumes effectively. These systems often include sensors that monitor temperature and air quality, ensuring optimal printing conditions by activating exhaust fans or adjusting airflow when necessary.
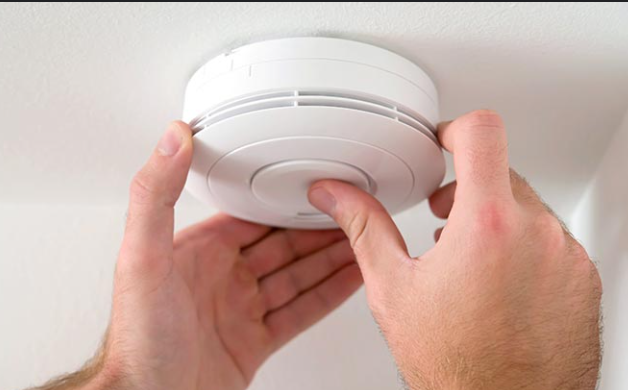
Incorporating a smoke detector within the enclosure enhances safety by detecting potential hazards like overheating or fires. The smoke detector is integrated into the printer's control system, enabling it to automatically halt the print process if detected, thereby preventing damage and ensuring safe operation of the 3D printer.
Tips and Considerations
Building a 3D printer enclosure requires careful planning and attention to several key factors to ensure optimal performance and safety. Considerations such as selecting appropriate materials, designing an efficient layout, ensuring proper ventilation, and addressing noise reduction are essential for creating a functional and user-friendly setup. Additionally, factors like insulation, temperature control, and budget must be carefully balanced to achieve the desired results while maintaining cost-effectiveness.
Material Selection
When building a 3D printer enclosure, selecting the right materials is crucial for durability, functionality, and performance. Consider using durable and lightweight materials like acrylic sheets or aluminum frames to ensure structural integrity while keeping the overall weight manageable. For thermal stability, opt for heat-resistant materials such as polycarbonate or fiberglass if your printer generates significant heat. Noise reduction can be achieved by incorporating soundproofing materials like foam padding or insulation panels. Additionally, choose breathable fabrics or mesh materials for proper ventilation, preventing overheating and odors. Always ensure the selected materials are compatible with your printer's specific requirements and consider modular designs that allow easy modifications in the future.
Maintaining Temperature Stability
To maintain temperature stability in your 3D printer enclosure, consider using high-quality insulation materials such as foam board or specialized thermal insulation sheets to minimize heat loss. Proper insulation ensures consistent internal temperatures, which is crucial for achieving accurate prints, especially with materials like ABS that are sensitive to drafts and temperature fluctuations.
Incorporate a reliable heating system within the enclosure, such as a small space heater or a dedicated 3D printer heating element. Ensure the heater is placed strategically to avoid uneven heating and promote proper airflow circulation throughout the enclosure.
Install a thermostat or temperature controller to maintain a stable target temperature. This device will regulate the heating element and prevent overheating or cooling, ensuring consistent print quality. Regularly monitor the enclosure's internal temperature during prints to verify stability and make adjustments as needed.
Beware of over-insulation, which can trap excess heat and lead to overheating. Balance insulation with controlled ventilation to allow for minimal air exchange while maintaining desired temperatures. Avoid placing the enclosure near drafts or areas prone to sudden temperature changes in your workshop or room.
Noise Reduction
Noise reduction is crucial when building a 3D printer enclosure to ensure a quiet and disturbance-free printing environment. Here are some tips and considerations for minimizing noise:
1. **Use Acoustic Foam or Soundproofing Panels**: Incorporate sound-absorbing materials like acoustic foam or panels on the inside walls of your enclosure. These materials help reduce echo and reverberation, ensuring that noise doesn't amplify within the space.
2. **Isolate Moving Parts**: Stepper motors and belts are common sources of noise in 3D printers. Use rubber mounts or dampening pads to isolate these components from the printer frame, reducing vibration and subsequent noise transfer.
3. **Upgrade Fans for Quiet Operation**: High-speed fans can generate significant noise. Consider replacing stock fans with quieter alternatives, or adding fan enclosures to muffle their sound without affecting airflow. Proper ventilation is still essential to prevent overheating.
4. **Enclose the Printer Fully**: Ensure your enclosure fully contains the printer, including all components like fans and belts. A well-sealed enclosure prevents noise from escaping into the surrounding environment while maintaining proper airflow for cooling.
5. **Adjust Print Settings**: Lowering print speeds or using quieter slicing profiles can reduce motor noise. Additionally, ensuring belts are properly tensioned minimizes rattling sounds during printing.
6. **Test and Optimize**: After constructing your enclosure, test it with different prints to evaluate noise levels. Fine-tune components like belt tensions or fan speeds as needed to achieve optimal quietness while maintaining print quality.
By implementing these strategies, you can build an effective 3D printer enclosure that minimizes noise while ensuring reliable performance.
Safety Precautions
When building a 3D printer enclosure, there are several tips and safety precautions to keep in mind:
- Ventilation: Ensure proper ventilation inside the enclosure to prevent overheating and allow fumes from printing materials like PLA or ABS to escape. Use fans or exhaust systems if necessary.
- Power Management: Keep power cords organized and secure them to avoid tripping hazards. Use surge protectors for added safety, especially if multiple devices are connected.
- Fire Safety: Always have a fire extinguisher nearby, as overheating or electrical issues can occur. Inspect wires and connections regularly for any signs of wear or damage.
- Noise Reduction: If your printer is noisy, consider adding sound-dampening materials to the enclosure walls to minimize noise pollution in your workspace.
- Material Selection: Choose durable and fire-resistant materials for the enclosure to ensure long-term safety and stability.
Always prioritize safety first when working with tools and equipment. Double-check all connections and components before starting your build to prevent accidents or malfunctions.