How to Design 3D-Printed Parts That Don’t Break: Expert Tips for Strength and Durability
Designing strong 3D printed parts means embracing blocky designs, blending surfaces, rounding edges, and avoiding thin features. Optimize for 3D printing, not injection molding, by using thick sections, hollow interiors, and proper materials to ensure durability, reliability, and cost-efficiency.

3D printing has revolutionized manufacturing, offering unparalleled flexibility and accessibility. However, one common challenge persists: parts breaking stressed. Whether it’s a mounting bracket for a conduit or a structural component for machinery, poorly designed 3D-printed parts can fail due to weak layer adhesion, stress concentrations, or inherited flaws from injection molding designs. The key to creating strong, reliable 3D-printed parts lies in designing specifically for the process.
Unlike injection molding, which relies on thin features and material efficiency, 3D printing thrives on robust, blocky designs that distribute stress evenly and eliminate weak points. In this article, we’ll share expert tips to help you optimize your designs for strength and durability—ensuring your parts perform reliably while remaining cost-effective. Let’s dive in!
Understanding the Problem: Why Do 3D-Printed Parts Break?
To design stronger 3D-printed parts, it’s essential to first understand why they fail. One of the primary reasons is the non-isotropic nature of 3D printing. Unlike injection-molded parts, which are uniform in strength, 3D-printed parts are built layer by layer. This means their strength is highly dependent on layer adhesion, making them more prone to breaking along the layer lines when subjected to stress.
Another common issue arises from design flaws inherited from injection molding. Injection molding often requires thin features and sharp edges to minimize material use and account for shrinkage during production. However, these features don’t translate well to 3D printing. Thin sections are fragile, and sharp corners create stress concentrations that can lead to crack propagation over time.
Additionally, vibration, fatigue, and load stresses exacerbate these weaknesses in real-world applications. Without proper design adjustments, 3D-printed parts may fail prematurely, especially in environments where durability and reliability are critical. Understanding these challenges is the first step toward designing parts that can withstand the demands of their intended use.
Key Design Principles for Strong 3D-Printed Parts
To ensure your 3D-printed parts are durable and reliable, you need to embrace design principles tailored specifically for additive manufacturing. Here are the most critical strategies to follow:
1. Blend Components for Strength
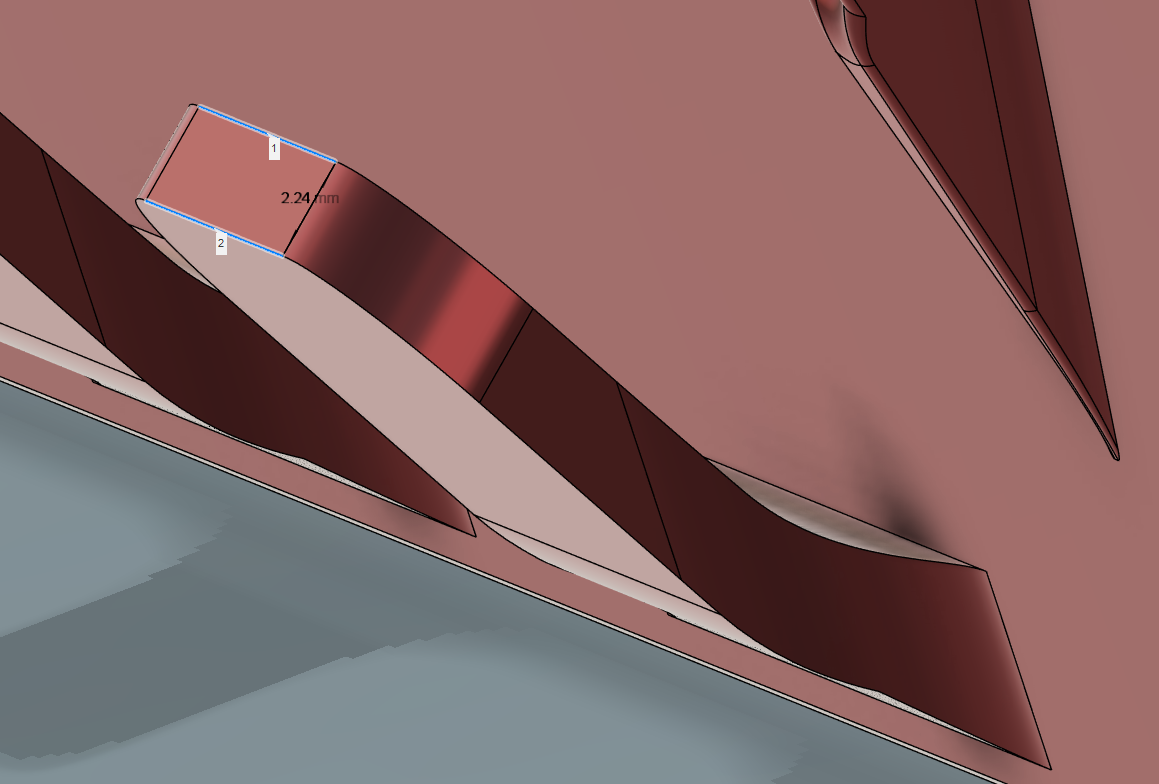
One of the simplest yet most effective ways to strengthen a 3D-printed part is by blending vertical and horizontal features. Use chamfers, lofts, or blends to merge these surfaces smoothly. This increases the surface area where the components meet, reducing stress concentrations and making the part more resistant to breaking forces.
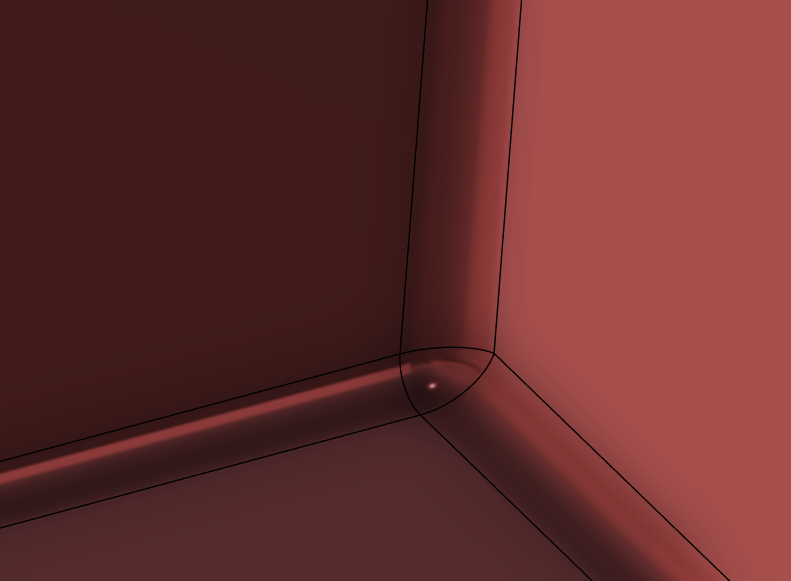
2. Round All Edges
Sharp edges are a common source of stress concentrations, especially along layer lines. By rounding vertical edges and smoothing corners, you can significantly improve the part’s reliability. Rounded edges also enhance print quality and reduce the likelihood of cracking under load.
3. Avoid Thin Features
Thin sections are inherently weak and prone to fatigue or cracking over time. Instead, prioritize thicker, more robust sections in your design. Thick features distribute stress more evenly and provide greater resistance to external forces.
By incorporating these design principles, you can transform fragile 3D-printed parts into robust components capable of withstanding real-world stresses.
Optimizing Designs for 3D Printing
One of the biggest mistakes designers make is trying to adapt injection-molded designs directly for 3D printing. These two manufacturing methods have fundamentally different requirements, and understanding how to optimize your design for 3D printing is key to creating stronger parts.
1. Start with a Blocky Design
Unlike injection molding, which emphasizes adding small, thin features, 3D printing thrives on blocky, chunky designs. Start with a solid block and remove material strategically to create the desired features. This approach ensures the part has a strong foundation and minimizes weak points.
2. Leverage Hollow Structures
Thick sections don’t have to mean excessive material usage. With 3D printing, you can create hollow interiors within thick sections. This reduces material consumption while maintaining strength because the outer walls act as structural reinforcements, much like an I-beam.
3. Avoid Thin Features from Injection Molding
Injection-molded parts (the stuff you buy in retail) often rely on thin walls and small details to reduce material use and avoid shrinkage issues. These features are unsuitable for 3D printing and should be replaced with thicker, more robust sections that better suit additive manufacturing processes.
By rethinking your design approach and focusing on these principles, you can unlock the full potential of 3D printing, ensuring your parts are not only strong but also cost-effective and reliable.
Material Selection and Print Settings for Enhanced Strength
Beyond design optimization, the materials and print settings you choose play a critical role in ensuring the durability and strength of your 3D-printed parts. Here’s how to make the right choices:
1. Choose Strong Materials
- Different materials offer varying levels of strength, flexibility, and durability:
- PETG: Balanced strength and flexibility, ideal for mechanical or outdoor applications.
- Nylon: High toughness and fatigue resistance, perfect for demanding mechanical loads.
- Carbon Fiber Composites: Exceptional strength-to-weight ratio for high-performance applications.
- Tough PLA or Polycarbonate (PC): Stronger alternatives to standard PLA or ABS for functional parts.
- Match the material to your application’s mechanical requirements, such as tensile strength, impact resistance, or flexibility.
2. Optimize Infill Density and Pattern
- Infill Density:
- For functional parts, use an infill density of 25% to 40% to balance strength with material efficiency.
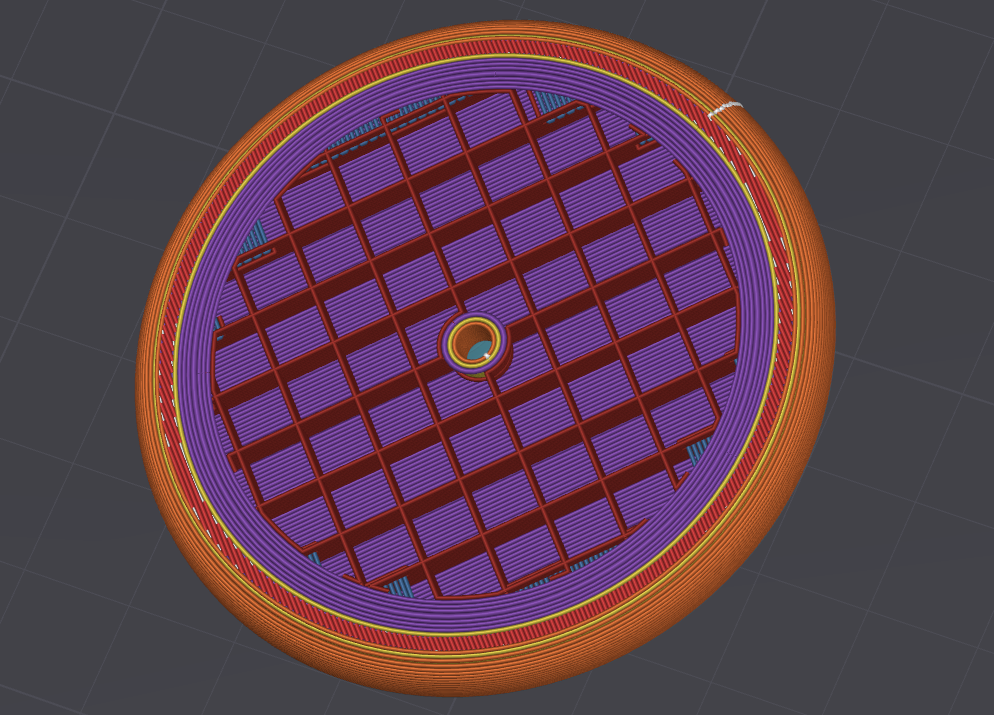
- Higher densities (up to 100%) may be used for maximum strength but increase material usage and build time.
- Infill Pattern:
- Use patterns like hexagonal (honeycomb) for the best strength-to-weight ratio or triangular for high mechanical strength under perpendicular stress.
3. Adjust Wall Thickness
- Increase wall thickness to improve part strength:
- Use a wall thickness of 2–3 mm for stronger parts.
- Ensure top and bottom thicknesses are between 1.6–2 mm to match the material’s properties.
- Thicker walls distribute stress more evenly and provide better resistance to external forces.
4. Optimize Layer Height
- Printing with thinner layers (e.g., 0.1 mm) improves layer adhesion, resulting in stronger bonds between layers.
- While this increases printing time, it significantly enhances Z-axis strength.
5. Use Proper Part Orientation
- Align the part on the print bed so that the strongest axes (X-Y) take on the most stress during use.
- Avoid orientations where layer lines are perpendicular to the primary load direction, as this weakens the part.
By carefully selecting materials and fine-tuning print settings, you can significantly enhance the structural integrity of your 3D-printed parts without compromising cost-efficiency or print quality.
Structural Enhancements for Reliability
To make your 3D printed parts even more reliable, you can incorporate specific structural enhancements into your designs. These features help distribute stress, reduce weak points, and improve overall durability.
1. Use Thick Features as I-Beams
Thick sections in your design can act like I-beams, providing exceptional resistance to breaking forces. These features distribute stress across the part and help counteract the inherent weakness along layer lines. By designing with thicker areas, you create a more robust structure without significantly increasing material usage.
2. Add Counter-Sunk Holes
For parts that require mounting points or screws, use counter-sunk holes instead of simple through-holes. This design choice improves reliability by reducing stress concentrations around the holes and ensuring a more secure fit under load or vibration.
3. Blend All Corners
Sharp corners are prone to crack propagation under stress. By blending or rounding all corners in the design, you eliminate these weak points and improve the part’s ability to withstand long-term loads and vibrations.
Benefits of Chunky Designs in 3D Printing
When designing for 3D printing, embracing chunky, blocky designs can offer significant advantages over traditional thin-walled designs:
- Increased Reliability: Chunky designs resist crack propagation and stress concentrations better than thin-walled parts.
- Built-In Engineering Margin: The added thickness provides a natural margin of safety, making parts more durable under heavy loads or vibrations.
- Cost Efficiency: Despite their robust appearance, chunky parts can be made hollow internally, minimizing material usage while maintaining strength.
- Outperforming Molded Parts: Properly designed 3D printed parts often last longer than molded counterparts due to their enhanced structural integrity and reduced fragility.
Designing strong 3D-printed parts requires a shift in mindset from traditional manufacturing methods. By blending surfaces, rounding edges, avoiding thin features, and optimizing for the unique strengths of additive manufacturing, you can create parts that are both durable and cost-effective. Additionally, selecting the right materials and fine-tuning print settings ensures your designs perform reliably in real-world applications.
Happy designing and printing!