Unwinding the Potential of Vase Mode: A Guide to Seamless 3D Printing
Discover the art of vase mode: a 3D printing technique that creates seamless, single-walled designs with faster print times and material savings. Master this powerful tool and unlock its full potential for stunning prints.
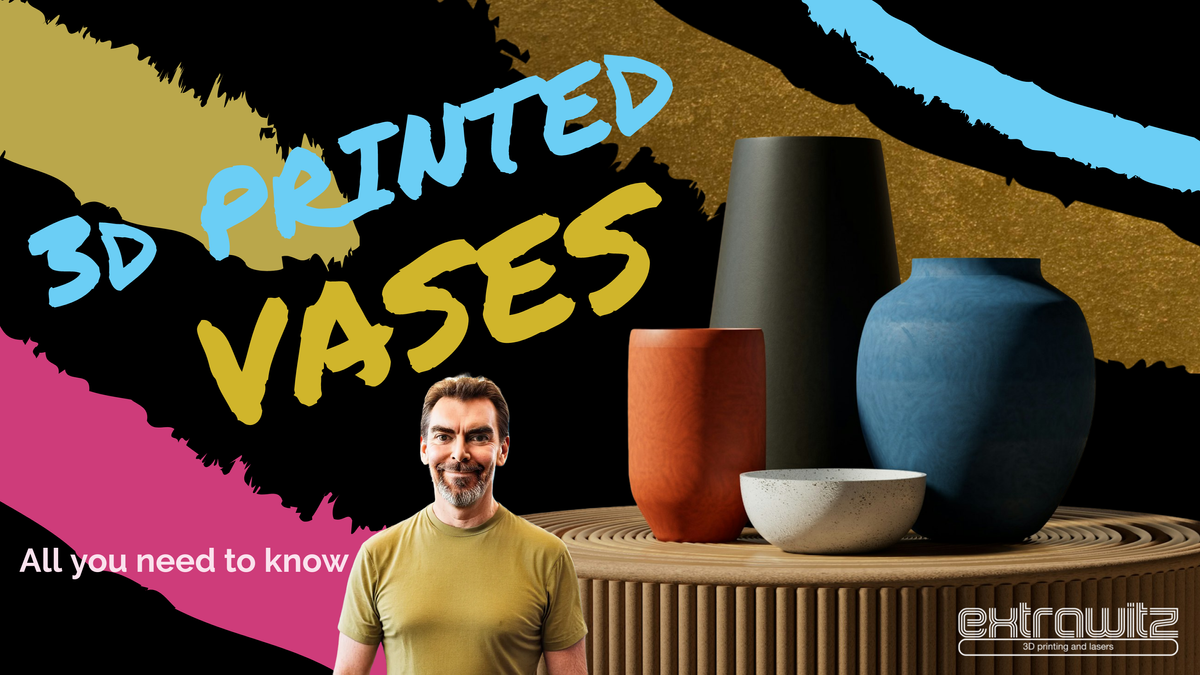
When it comes to 3D printing, there are numerous techniques and modes that can help you achieve remarkable results. One such technique is vase mode, also known as spiral mode or continuous mode. This unique method has gained popularity among 3D printing enthusiasts and professionals alike, thanks to its ability to create objects with seamless, single-walled designs.
How Vase Mode Works
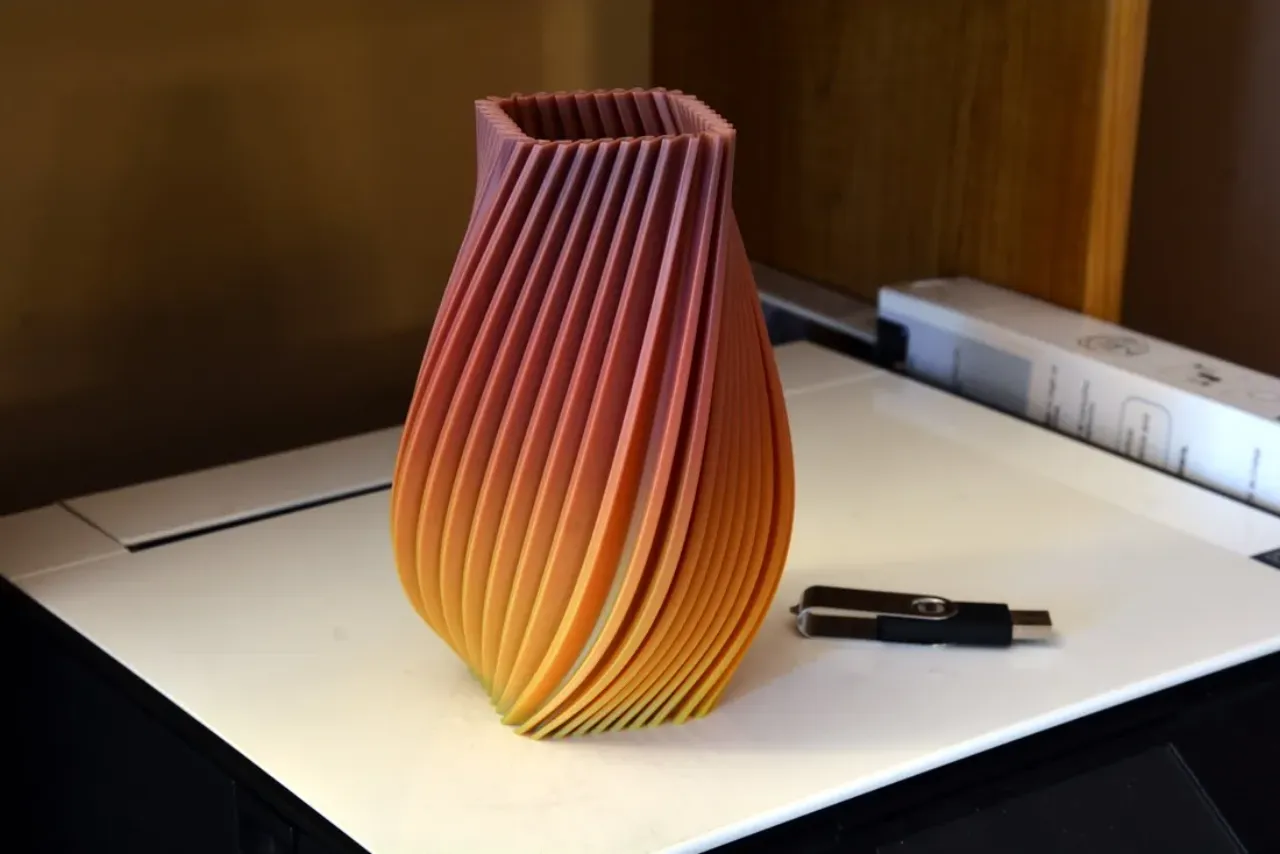
Vase mode is a special 3D printing technique that involves continuous spiral printing. Unlike traditional layer-by-layer printing, vase mode uses a smooth, uninterrupted path to create objects with a single wall thickness. This process eliminates visible layer lines and seams, resulting in a seamless surface finish. The nozzle moves in a continuous spiral pattern, gradually increasing the Z-height to form the object’s walls.
Benefits of Using Vase Mode
Faster Print Times
Vase mode significantly reduces print time compared to standard settings, as it only prints a single wall without infill. This makes it an ideal choice for large or complex objects that require minimal material usage.
Material Savings
Less material is consumed due to the absence of infill and top layers, resulting in cost savings. Vase mode is particularly useful for printing objects with intricate designs or hollow structures.
Aesthetically Pleasing Results
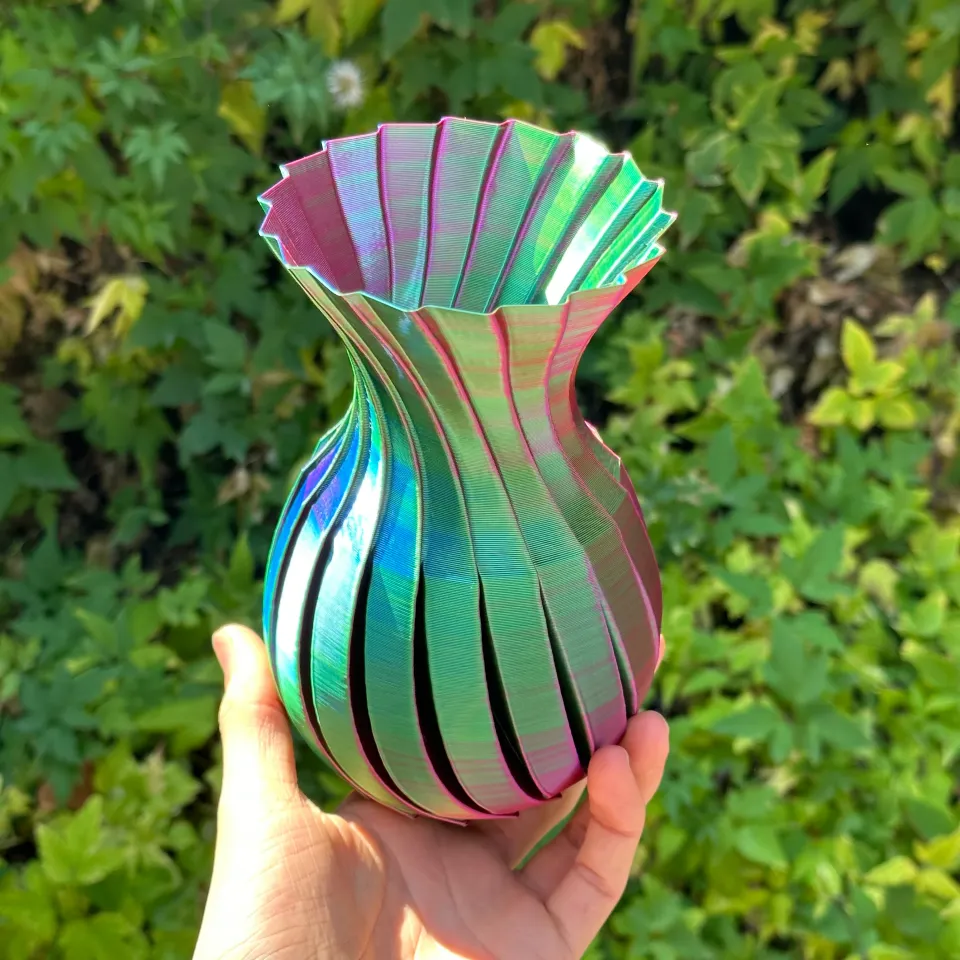
The continuous spiral printing creates objects with a smooth, seamless appearance that is visually appealing. This makes vase mode an excellent choice for printing decorative items, such as vases, jewelry, or other ornaments.
Limitations and Considerations
While vase mode offers numerous benefits, it also has its limitations and considerations.
Suitable Object Geometry
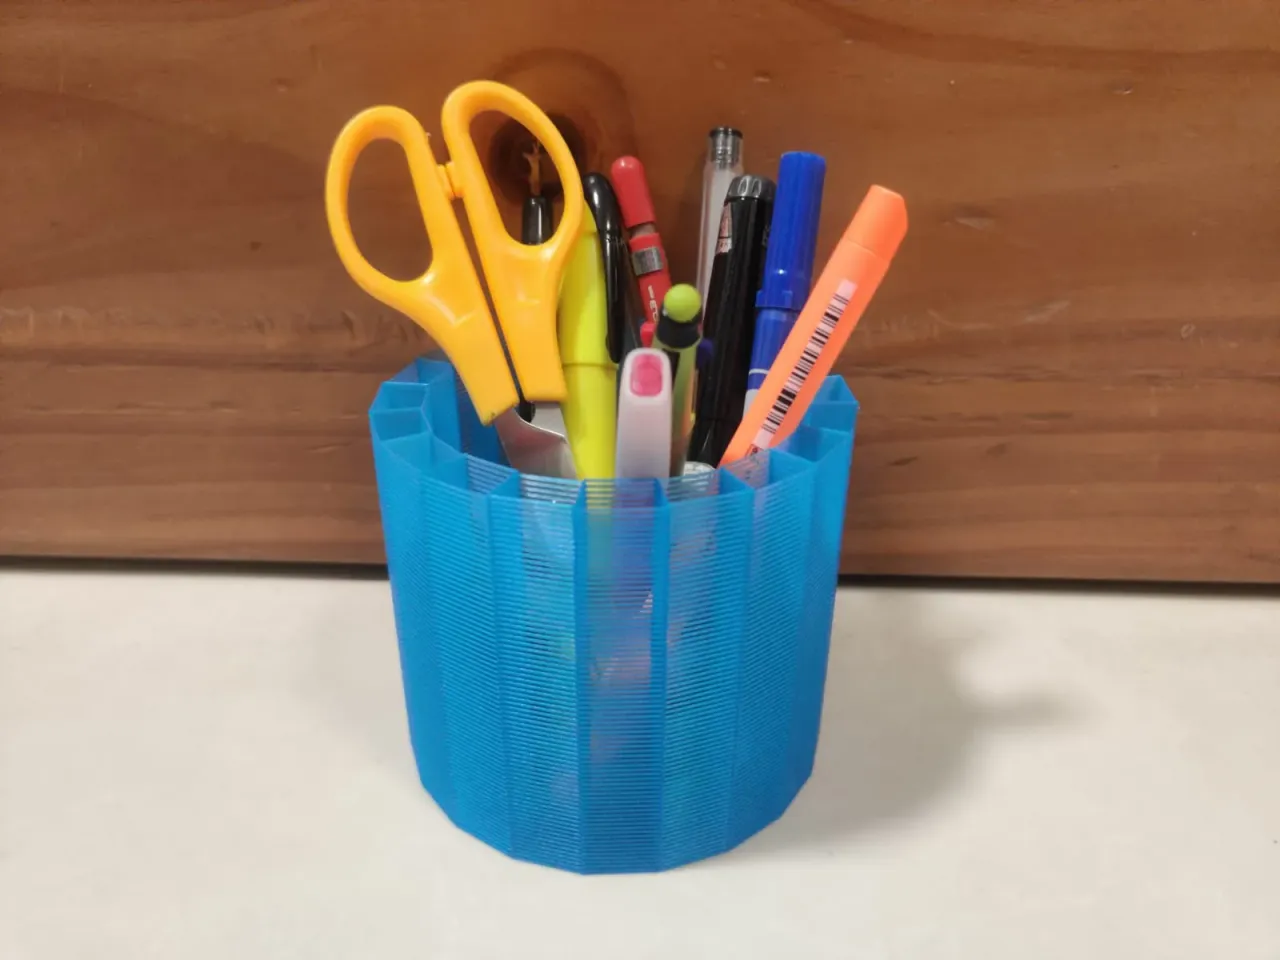
Vase mode works best for hollow objects with simple, continuous surfaces. Complex shapes, overhangs, or multi-walled designs may not be suitable for vase mode printing. This is because the nozzle’s spiral path can become distorted when dealing with intricate geometries, resulting in poor print quality.
Limited Strength
Objects printed in vase mode are generally less sturdy due to the single wall and lack of infill. This means that vase-mode prints may not withstand heavy loads or stress as well as prints created using traditional methods.
Specific Slicer Settings
To achieve optimal results with vase mode, slicer settings such as layer height, print speed, and extrusion rate need to be adjusted. Failure to do so can result in poor print quality, warping, or other issues.
Tips and Tricks for Mastering Vase Mode
To get the most out of vase mode, it’s essential to understand how to adjust your slicer settings and printer configuration. Here are some tips and tricks to help you master vase mode:
Adjust Slicer Settings
- Layer Height: Decrease layer height to achieve a smoother surface finish.
- Print Speed: Increase print speed to reduce print time, but be cautious not to compromise quality.
- Extrusion Rate: Adjust extrusion rate to ensure consistent wall thickness and prevent under-extrusion.
Optimize Printer Configuration
- Nozzle Temperature: Ensure the nozzle temperature is set correctly for your filament type.
- Bed Temperature: Adjust bed temperature to achieve optimal adhesion and prevent warping.
- Retraction Settings: Configure retraction settings to prevent stringing and oozing.
Troubleshooting Common Issues
- Warping: Check bed level, temperature, and adhesive settings to prevent warping.
- Under-Extrusion: Adjust extrusion rate or increase print speed to ensure consistent wall thickness.
- Stringing: Increase retraction distance or adjust retraction speed to prevent stringing.

Advanced Techniques for Vase Mode Printing
Once you’ve mastered the basics of vase mode printing, it’s time to take your skills to the next level by exploring advanced techniques. Here are some tips and tricks to help you get the most out of vase mode:
Multi-Color Printing
Vase mode can be used with multi-color printing to create intricate designs with different colors. To achieve this, use a multi-material printer or change filament types during the print job.
Vase Mode for Large Prints
Vase mode is ideal for large prints due to its ability to reduce warping and improve surface finish. However, make sure to adjust your slicer settings and printer configuration accordingly to prevent issues with large prints.

Custom Slicer Settings
Create custom slicer settings for vase mode by adjusting layer height, print speed, and extrusion rate based on the specific object being printed. This will help achieve optimal results and minimize waste material.
Vase Mode for Complex Geometries
While vase mode is not suitable for complex geometries with overhangs or multi-walled designs, it can be used to create objects with intricate details such as lattice structures or honeycomb patterns.
Real-World Applications of Vase Mode
Vase mode has numerous real-world applications in various industries. Some examples include:
- Art and Design: Create intricate sculptures, jewelry, or other decorative items using vase mode.
- Prototyping: Use vase mode to create rapid prototypes with smooth surface finishes for product design and development.
- Architecture: Print large-scale models of buildings or structures using vase mode for architectural visualization.
Key Takeaways
- Vase mode is a special 3D printing technique that uses continuous spiral printing to create objects with seamless, single-walled designs.
- Benefits of vase mode include faster print times, material savings, and aesthetically pleasing results.
- Limitations of vase mode include its suitability for specific object geometries and the importance of adjusting slicer settings.
- Advanced techniques for mastering vase mode include adjusting slicer settings, optimizing printer configuration, and troubleshooting common issues.

Final Tips and Recommendations
- Experiment with different slicer settings and printer configurations to achieve optimal results with vase mode.
- Practice makes perfect: start with simple objects and gradually move on to more complex designs.
- Join online communities or forums to share knowledge and learn from other 3D printing enthusiasts who have experience with vase mode.
By following the tips and recommendations outlined in this article, you’ll be well on your way to mastering vase mode and unlocking its full potential for creating seamless, single-walled objects with a smooth surface finish. Happy printing!
extrawitz


